Docker
Created: Docker Reference Page
Updated: 03 September 2023
Based on this Cognitive Class Course
Prerequisites
- Docker
- WSL2 for Windows (ideally) (if using Windows)
Run a Container
Introduction
Containers are a group of processes that run in isolation, these processes must all be able to run on a shared kernel
Virtual machines are heavy and include an entire operating system, whereas with a container they only contain what is necessary. Containers do not replace virtual machines
Docker is a toolset to manage containers and integrate into our CI/CD pipelines. This allows us to ensure that all our running environments are identical. Furthermore Docker provides a standard interface for developers to work with
Running a Container
To run a container on our local machine we use the Docker CLI
1docker container run -t ubuntu topThis command will look for the ubuntu image locally, which it will not find and will then check for the image online, after which it will run the ubuntu container with the top command. This can be seen with the following output
1Unable to find image 'ubuntu:latest' locally2latest: Pulling from library/ubuntu3473ede7ed136: Pull complete4c46b5fa4d940: Pull complete593ae3df89c92: Pull complete66b1eed27cade: Pull complete7Digest: sha256:29934af957c53004d7fb6340139880d23fb1952505a15d69a03af0d1418878cb8Status: Downloaded newer image for ubuntu:latest9top - 13:08:05 up  5:20,  0 users,  load average: 0.02, 0.03, 0.0010Tasks:   1 total,   1 running,   0 sleeping,   0 stopped,   0 zombie11%Cpu(s):  0.0 us,  0.0 sy,  0.0 ni, 99.8 id,  0.2 wa,  0.0 hi,  0.0 si,  0.0 st12KiB Mem :  2027760 total,    93568 free,   410976 used,  1523216 buff/cache13KiB Swap:  1048572 total,  1048564 free,        8 used.  1447916 avail Mem14
15  PID USER      PR  NI    VIRT    RES    SHR S  %CPU %MEM     TIME+ COMMAND16    1 root      20   0   36588   3148   2724 R   0.3  0.2   0:00.09 top
It is important to note that the container does not have its own kernel but instead runs on the host kernel, the Ubuntu image only provides the file system and tools
We can view our running containers with
1docker container lsWe can interact with the container by
1docker container exec -it be81304e2786 bashWhere
-itstates that we want to interact with the shellbe81304e2786is the container IDbashis the tool we want to use to inspect our container
Now that we are in the container we can view our running processes with
1ps -efTo get out of our container and back to our host we run
1exitRunning Multiple Containers
Just run another container, basically
Ngix
1docker container run --detach --publish 8080:80 --name nginx nginxMongo
1docker container run --detach --publish 8081:27017 --name mongo mongo:3.4If you run into the following error, simply restart Docker
1Error response from daemon: driver failed programming external connectivity on endpoint xenodochial_spence (d2836ffdcd649ba692d504e34af61c9aab57bf3a135587875db3c88ca0baa070): Error starting userland proxy: mkdir /port/tcp:0.0.0.0:8080:tcp:172.17.0.2:80: input/output error.We can list running containers and inspect one that we chose with
1docker container ls2docker container inspect <CONTAINER ID>It is important to remember that each container includes all the dependencies that it needs to run
A list of available Docker images can be found here
Remove Containers
We can stop containers with
1docker container stop <CONTAINER IDs>2
3docker container stop jn4 es3 fe3
Then remove all stopped containers with
1docker system pruneCI/CD with Docker Images
Introduction
A Docker image is an archive of a container that can be shared and containers can be created from them
Docker images can be shared via a central registry, the default store for Docker is Docker Hub
To create an image we use a Dockerfile which has instructions on how to build our image
Docker is made of layers, image layers are build on top of the layers before them, based on this we only need to update or rebuild layers that are changed or need to be updated, based on this we try to keep the area where we are making modifications to the bottom of our Dockerfile in order to prevent unnecessary layers from being rebuilt constantly
Create a Python App
Make a simple python app in a directory that you want your app to be in which contains the following
1from flask import Flask2
3app = Flask(__name__)4
5@app.route("/")6def hello():7    return "hello world!"8
9if __name__ == "__main__":10    app.run(host="0.0.0.0")
This app will simply use Flask to expose a web server on port 5000 (the default Flask port)
Note that the concepts used for this app can be used for any application in any language
Create and Build the Docker Image
Create a file named Dockerfile in the same directory with the following contents
1FROM python:3.6.1-alpine2RUN pip install flask3CMD ["python","app.py"]4COPY app.py /app.pySo, what does this file do?
FROM python:3.6.1-alpineis the starting point for ourDockerfile, each Dockerfile needs this to select the base layer we want for our application, we use the-alpinetag to ensure that changes to the parent dependency are controlledRUN pip install flaskis executing a command that is necessary to set up our image for our application, in this case installing a packageCMD ["python","app.py"]is what is run when our container is started, this is only run once for a container, we are using it here to run our app.py we can leave this here even though it will only be run once all the other lines are as this will not yield any changes to layersCOPY app.py /app.pysays that docker should copy the file in the local directory to our image, this is at the end as it is our source code which changes frequently and hence should affect as few layers as possible
From the directory of our application we can build our image
1docker image build -t python-hello-world .If you run into the following error you may need to ensure that your encoding is UTF 8
1Error response from daemon: Dockerfile parse error line 1: unknown instruction: ��F R O MWe can then view our image in the list with
1docker image lsWe can run our image with
1docker run -p 5001:5000 -d python-hello-worldThe -p option maps port 5001 on our host to port 5000 of our container
Navigating to http://localhost:5001 with our browser we should see
1hello world!If we do not get a response from our application, and if our application is not shown under the list of running containers we can view our logs for information, we use the string that was output when we did docker run as this is the container ID we tried to run
We can view our container logs with
1docker container logs <CONTAINER ID>Push to a Central Registry
We can push our docker images to Docker Hub by logging in, tagging our image with our username, and then pushing the image
1docker login2docker tag python-hello-world <USERNAME>/python-hello-world3docker push <USERNAME>/python-hello-worldNote that the <USERNAME>/python-hello-world refers to a repository to which we want to push our image
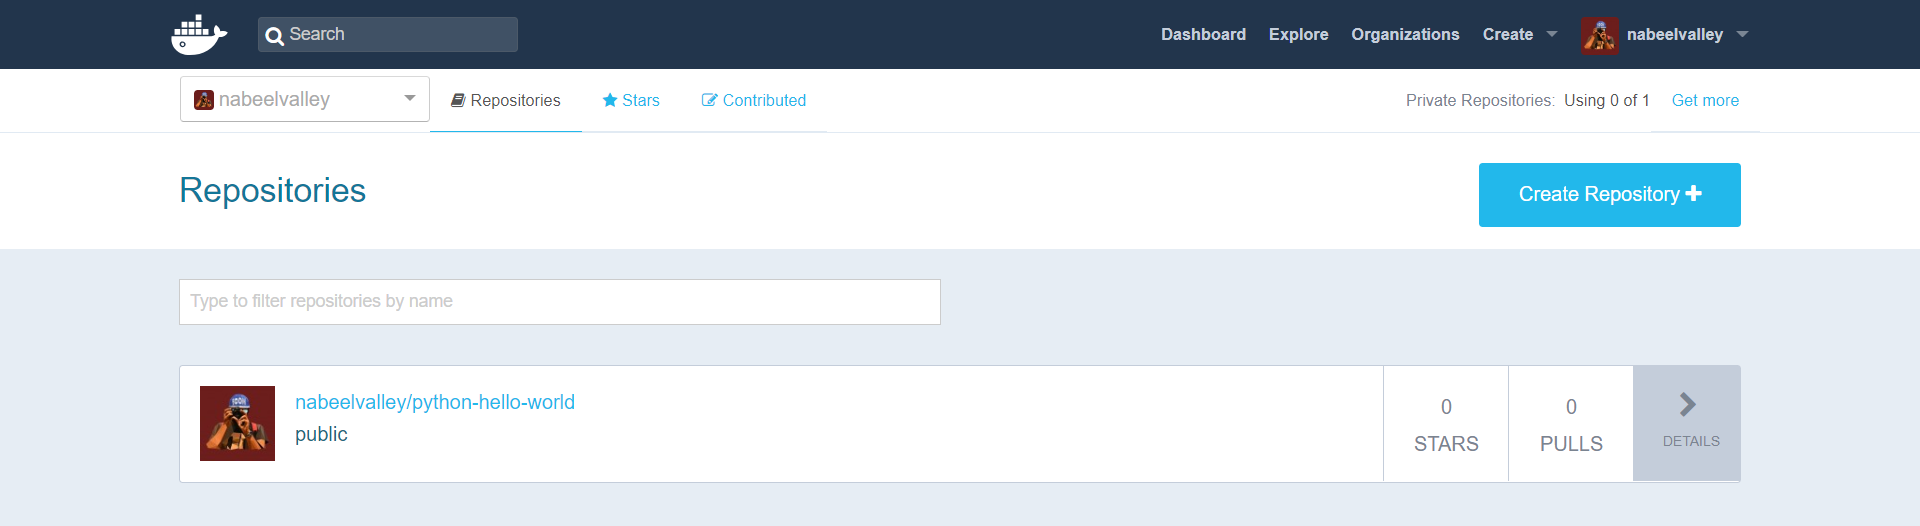
Thereafter we can log into Docker Hub via our browser and see the image
Deploy a Change
We can modify our app.py file and simply rebuild and push our update
1docker image build -t <USERNAME>/python-hello-world .2docker push <USERNAME>/python-hello-worldWe can view the history of our image with
1docker image history python-hello-worldRemoving Containers
We can remove containers the same as before
1docker container stop <CONTAINER IDS>2docker system pruneContainer Orchestration with Swarm
Introduction
Orchestration addresses issues like scheduling and scaling, service discovery, server downtime, high availibility, A/B testing
Orchestration solutions work by us declaring our desired state and it maintaining that state
Create a Swarm
We will be using Play-With-Docker for this part
Click on Add a new instance to add three nodes
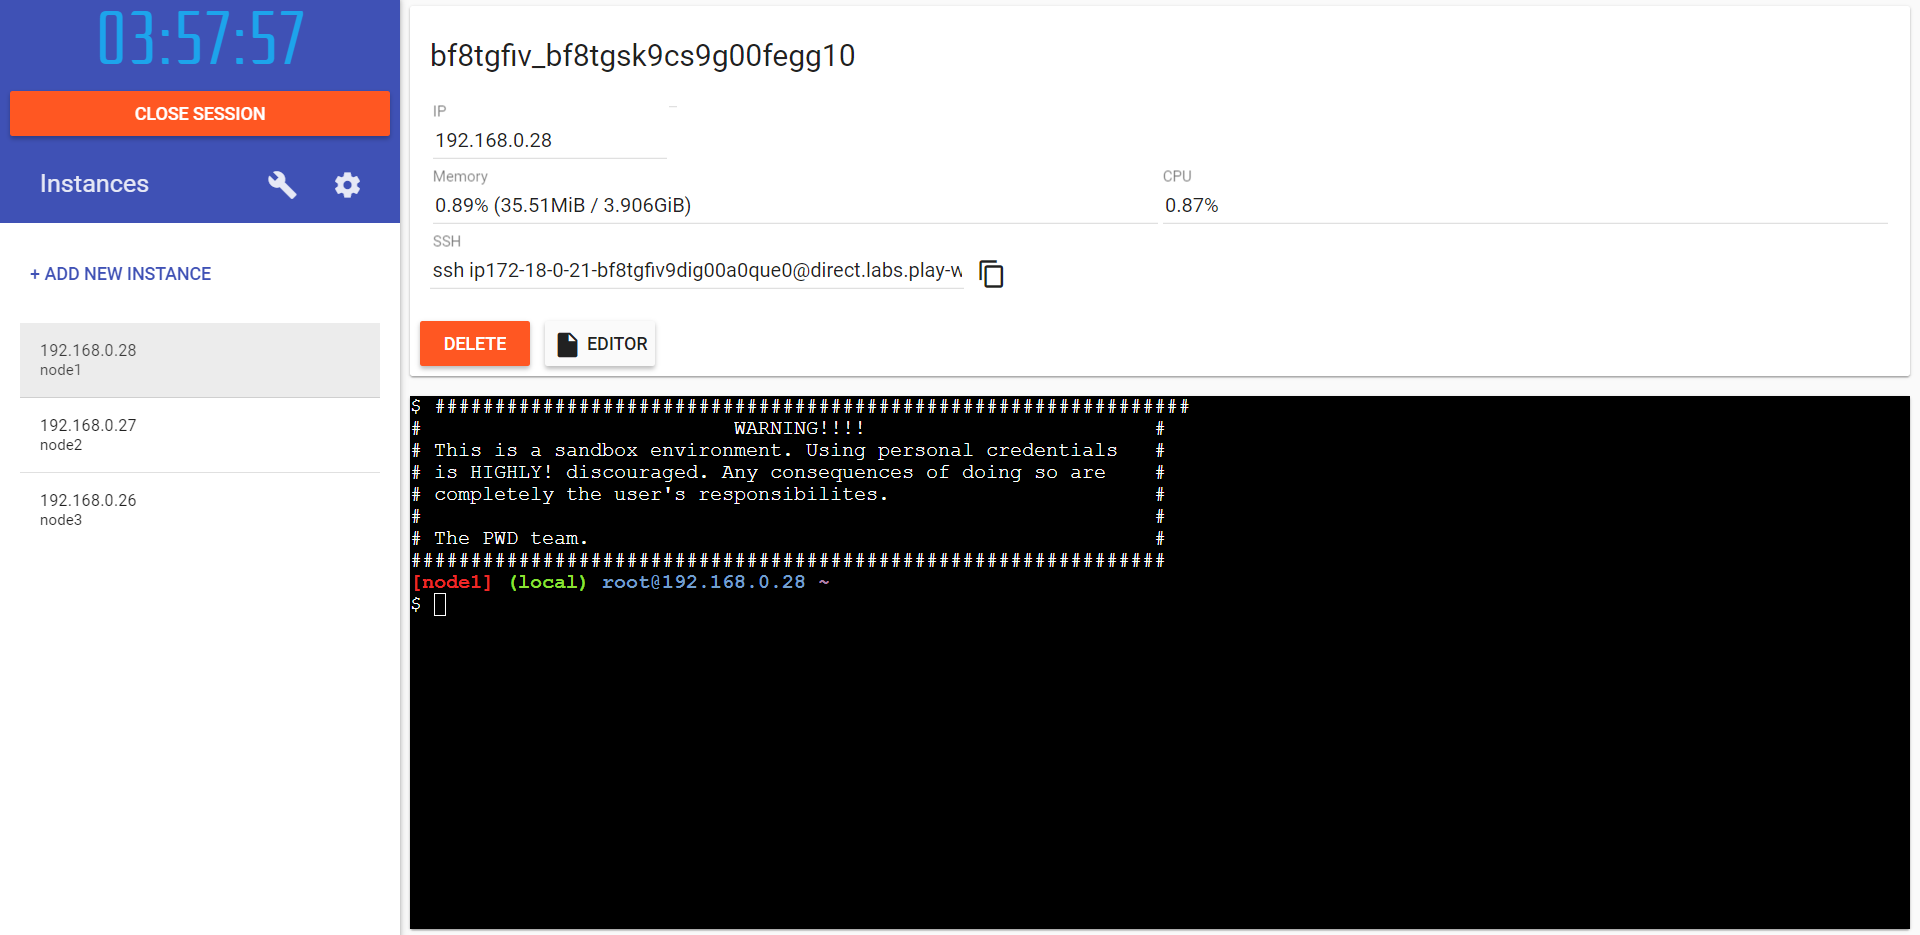
Thereafter initialize a swarm on Node 1 with
1docker swarm init --advertise-addr eth0This will output something like the following
1docker swarm join --token SWMTKN-1-1m4p457lt447dgth3ovrnwajn7x66wghumgcw415rh7lj2nzfi-bsora9haiad4ikx6r9hap7rkm 192.168.0.28:2377We can then add a manager to the swarm with
1docker swarm join-token managerWe can then run the docker swarm-join command from the other two nodes, then on node 1 we can view the swarm with
1docker node ls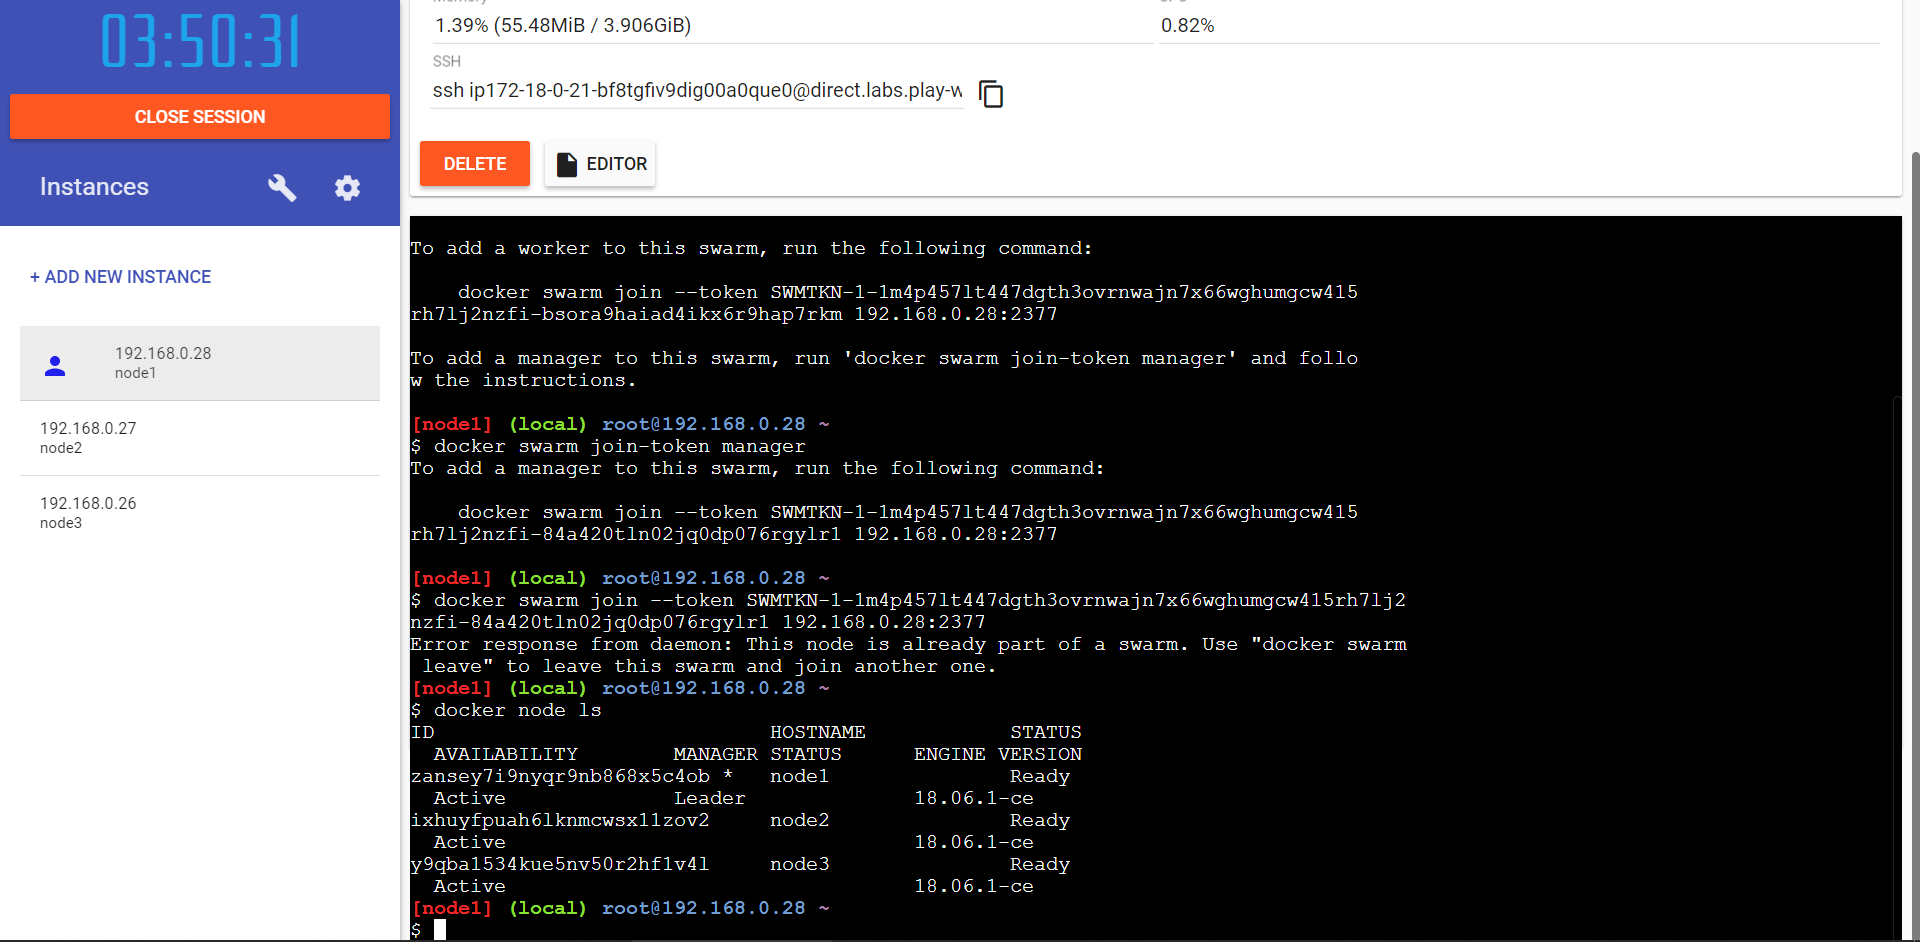
Deploy a Service
On node 1 we can create an ngix service
1docker service create --detach=true --name nginx1 --publish 80:80 --mount source=/etc/hostname,target=/usr/share/nginx/html/index.html,type=bind,ro nginx:1.12We can then list the services we have created with
1docker service lsWe can check the running container of a service with
1docker service ps <SERVICE ID>Because of the way the swarm works, if we send a request for a specific service, it will automatically be routed to the container which has ngix running, we can test this from each node
1curl localhost:80Scale the Service
If we want to replicate our service instances we can do so with
1docker service update --replicas=5 --detach=true nginx1When we update our service replicas Docker Swarm recognises that we no longer match the service requirement and it therefore creates more instances of the service
We can view the running services
1docker service ps nginx1We can send many requests to the node and we will see that the request is being handled by different nodes
1curl localhost:80We can view our service logs with
1docker service logs ngix1Rolling Updates
We can do a rolling update of a service with
1docker service update --image nginx:1.13 --detach=true nginx1We can fine-tune our update process with
--update-parallelismspecifies the number of containers to update immediately--update-delayspecifies the delay between finishing updating a set of containers before moving on to the next set
After a while we can view our ngix service instances to see that they have been updated
1docker service ps nginx1Reconciliation
Docker Swarm will automatically manage the state we tell it to, for example if a node goes down it will automatically create a new one to replace it
How Many Nodes?
We typically aim to have between three and seven manager nodes, in order to correctly apply the consensus algorithm, which requires more than half our nodes to be in agreement of state, the following is advised
- Three manager nodes tolerate one node failure
- Five manager nodes tolerate two node failures
- Seven manager nodes tolerate three node failures
It is possible to have an even number of manager nodes but this adds no additional value in terms of consensus
However we can have as many worker nodes as we like, this is inconsequential